Ever found yourself in a situation where you wished you could capture that perfect audio snippet on your iPhone? Whether it’s a hilarious voice message from a friend or a captivating podcast moment, knowing how to screen record audio can save the day. It’s like having a magic wand that lets you relive those golden moments without the hassle of typing everything out.
Understanding Screen Recording on iPhone
Screen recording on iPhone captures both visual and audio content seamlessly. Users rely on this feature for preserving memorable audio snippets effortlessly.
Built-in Screen Recording Feature
iPhone offers a built-in screen recording feature that simplifies audio capture. Access it through the Control Center by adding the Screen Recording icon in Settings. Users can start recording with a single tap, which also allows them to include audio from the microphone. This option is valuable for capturing voiceovers or commentary during a screen recording. Additionally, it saves audio from ongoing apps, such as music and podcasts. The recorded files store in the Photos app, making it easy to access and share audio snippets later.
Third-party Apps for Audio Recording
Third-party apps enhance audio recording capabilities on iPhone. Popular options include Voice Memos, GarageBand, and Audacity, each offering unique features tailored for different needs. Voice Memos allows quick recordings, while GarageBand provides a comprehensive set of audio editing tools. Some apps also enable advanced features, such as multiple tracks and effects. Users can explore App Store to find options that suit their specific audio recording requirements. Each app streamlines the recording process, ensuring quality sound captures for personal use or sharing.
How to Enable Screen Recording
Enabling screen recording on an iPhone makes capturing audio moments straightforward. Users can follow a few simple steps to get started.
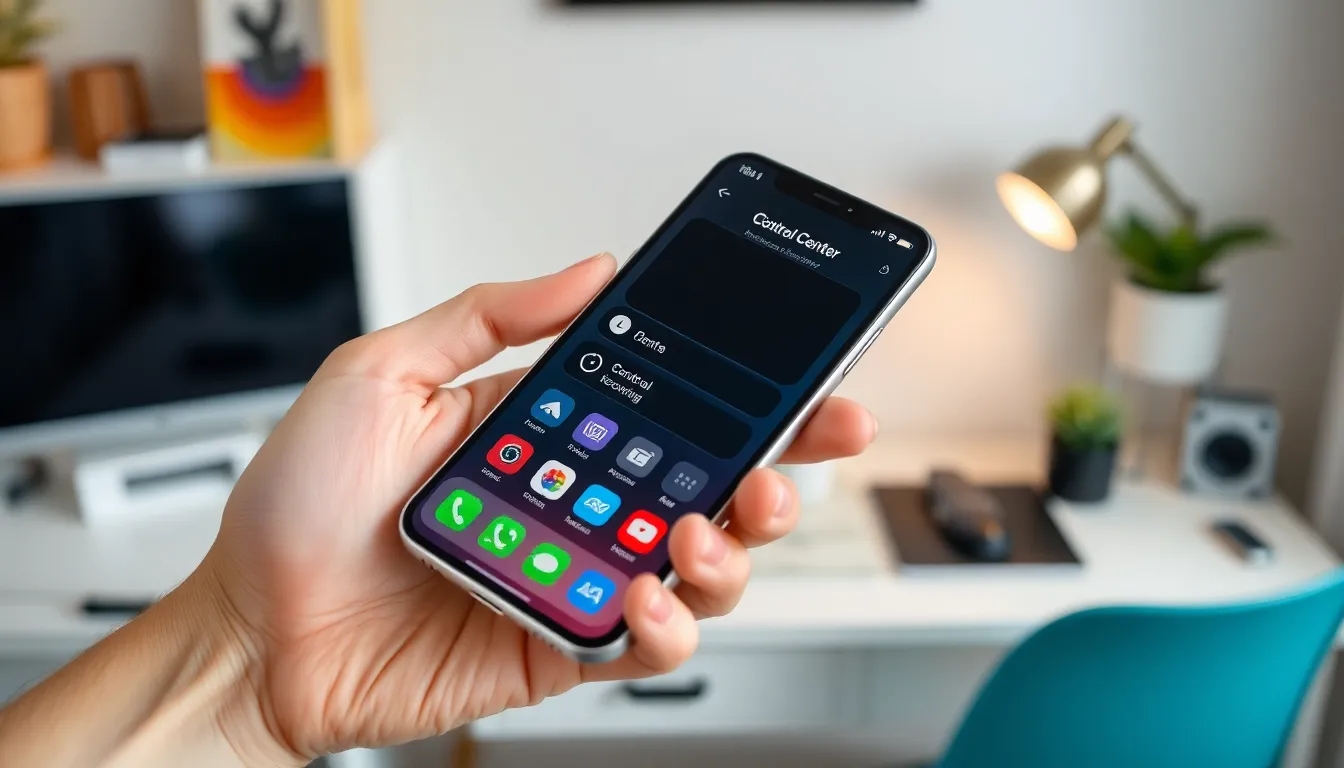
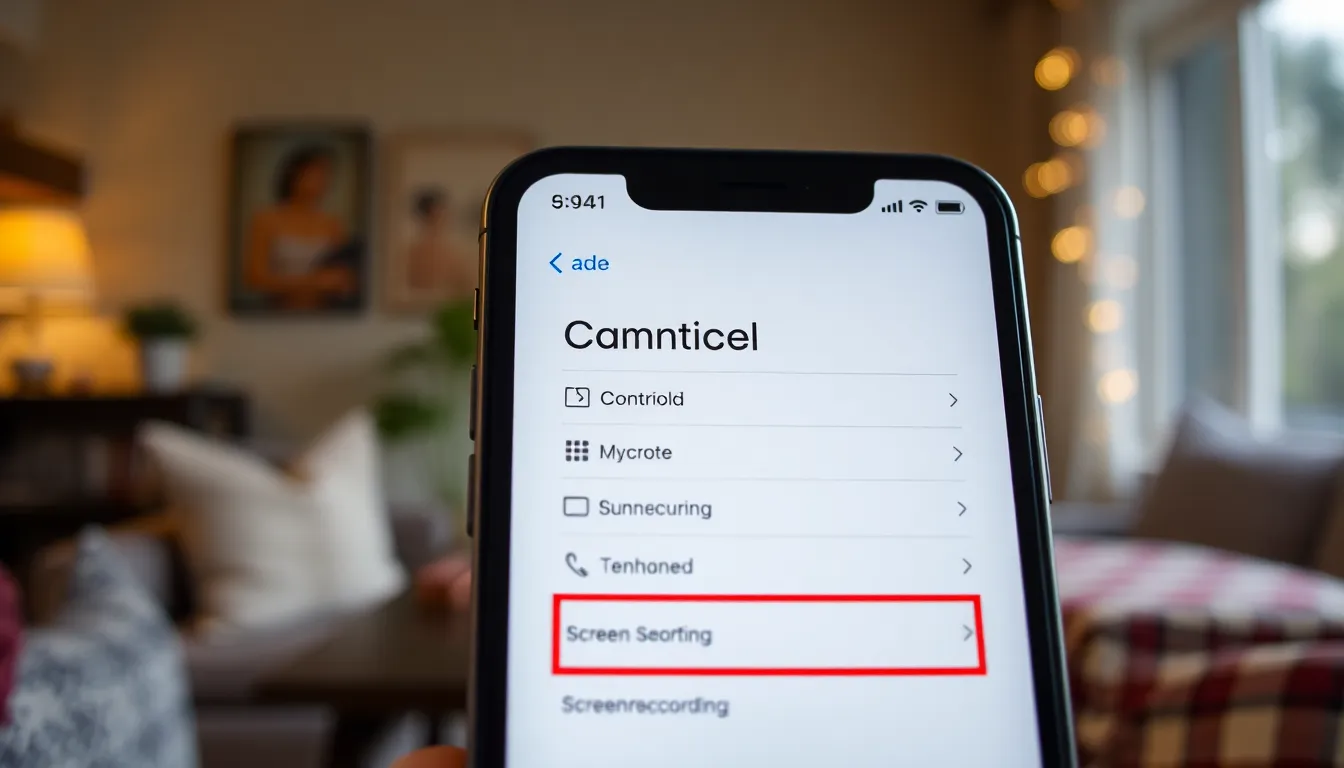
Accessing Control Center
Control Center is the gateway to screen recording. To access it, swipe down from the top-right corner on iPhones with Face ID or swipe up from the bottom on older models. The screen recording button, which looks like a solid dot within a circle, might not appear immediately. Users should customize Control Center by going to Settings, tapping Control Center, then adding Screen Recording from the More Controls section. Once added, tapping this button starts the recording process.
Adjusting Settings for Audio
Adjusting audio settings enhances the recording experience. Users should long press the screen recording button in the Control Center to access additional options. A microphone icon appears here. Tapping this icon turns the microphone on or off, allowing voice narration during the recording. For capturing app audio, such as music or podcasts, users can simply start the app before beginning the screen recording. Ensuring the microphone is enabled captures outside audio, while app sounds are recorded simultaneously.
Steps to Screen Record Audio on iPhone
Users can easily screen record audio on their iPhones by following a few simple steps. This process ranges from initiating the screen recording to selecting the right audio sources.
Initiating the Screen Recording
Accessing the screen recording feature starts with opening the Control Center. Users should swipe down from the top-right corner of the screen on iPhone models without a Home button or swipe up from the bottom of the screen on older models. The screen recording button resembles a dot within a circle. Tapping this button begins the recording process. Users see a three-second countdown before recording starts, allowing preparation for the content to be captured. To stop recording, tapping the red status bar at the top of the screen brings up a prompt to confirm the stop action. This quick process ensures seamless capturing of both visuals and audio.
Selecting Audio Sources
Users need to choose the correct audio source for their recordings. Long-pressing the screen recording button provides audio options that can be toggled. The microphone option enables external sound capture, making it perfect for voice commentary. Additionally, recordings encompass audio from apps such as music or podcasts, ensuring versatile audio experiences. Selecting the appropriate audio source is crucial for enhancing the quality of the recorded content. Once users finalize their choices, tapping “Start Recording” captures everything that occurs on the screen along with the selected audio sources.
Tips for Effective Screen Recording
Screen recording on an iPhone becomes more efficient with a few strategic adjustments. Users can enhance their audio recordings through mindful setups and selections.
Adjusting Audio Levels
Audio clarity plays a crucial role in screen recordings. Users should start by checking the audio settings on their iPhone. Adjusting the volume levels for both system sounds and app audio ensures balance. Lowering background noise creates a clearer recording. Depending on the source, using Volume buttons helps manage and find the optimal sound. Experimenting with different settings can lead to improved audio quality. Familiarizing oneself with app settings may also reveal additional audio options. Ensuring that the environment is quiet can significantly enhance the recording experience.
Using Microphones for Better Quality
Incorporating external microphones can greatly enhance audio quality during recordings. They capture clearer sound compared to built-in iPhone microphones. Connecting a quality external microphone provides better voice clarity and reduces background noise. Many microphones offer features such as noise cancellation, improving audio fidelity. Users should explore options available on the App Store to find compatible accessories. Positioning the microphone closer to the sound source further enhances recording clarity. Testing recording samples before the actual session ensures the best results. Selecting a suitable microphone type based on the intended use leads to a more professional recording.
Screen recording audio on an iPhone is a straightforward process that opens up a world of possibilities for users. Whether capturing cherished voice messages or snippets from favorite podcasts it enables effortless preservation of audio moments. With easy access through the Control Center and customizable audio settings users can enhance their recordings for clarity and impact.
Exploring third-party apps can further elevate the audio recording experience offering unique features tailored to specific needs. By taking advantage of these tools and tips users can ensure they capture high-quality audio that resonates. Embracing this functionality not only enriches personal collections but also enhances creative projects and sharing experiences with others.